How to Take the Perfect Photo for Tree ID
A blurry photo of a distant canopy tells an identification app almost nothing. A clear, well-lit close-up of a leaf can tell it everything.
The difference between “unknown species” and “95% confident match” often comes down to photography basics. Here’s how to take photos that actually work for tree identification.
What to Photograph
Different tree parts provide different information. Capture multiple features when possible.
Leaves (Most Important)
Leaves contain the most identifying information per square inch. One clear leaf photo often enables accurate identification.
Get the whole leaf. Include the stem (petiole) and the entire blade. Don’t crop off the tip or edges.
Show the top surface. Most identification focuses on the upper side of leaves. Photograph the top first.
Include the underside too. Some species have distinctive undersides—fine hairs, different colors, or visible veins. A second photo of the underside helps.
Capture leaf arrangement. Are leaves opposite (in pairs) or alternate (staggered)? A photo showing multiple leaves on a twig reveals the arrangement.
Show compound leaves completely. If the leaf is compound (made of multiple leaflets), capture all the leaflets in one shot so the app understands the structure.
Bark
Bark is especially useful when leaves aren’t available—either in winter or when the tree is too tall to reach. Familiarizing yourself with bark identification will help you know exactly what to photograph.
Get close. Fill the frame with bark texture. A photo from 20 feet away doesn’t show enough detail.
Include a reference. Your hand, a coin, or a ruler in the frame gives scale. Bark that looks deeply furrowed at one scale might be fine-textured at another.
Photograph mature bark. Young bark often looks different from mature bark. If possible, photograph the main trunk rather than young branches.
Capture the pattern. Is the bark peeling, furrowed, smooth, plated? Make sure the photo shows the distinctive texture.
Flowers and Fruit
Seasonal features can clinch identification when leaves are ambiguous.
Photograph flowers up close. Flower structure is highly diagnostic—petal count, color, arrangement.
Show fruit or seeds intact. Acorns, samaras, berries, cones. Include the attachment point if visible.
Capture color accurately. Avoid harsh shadows that distort flower colors.
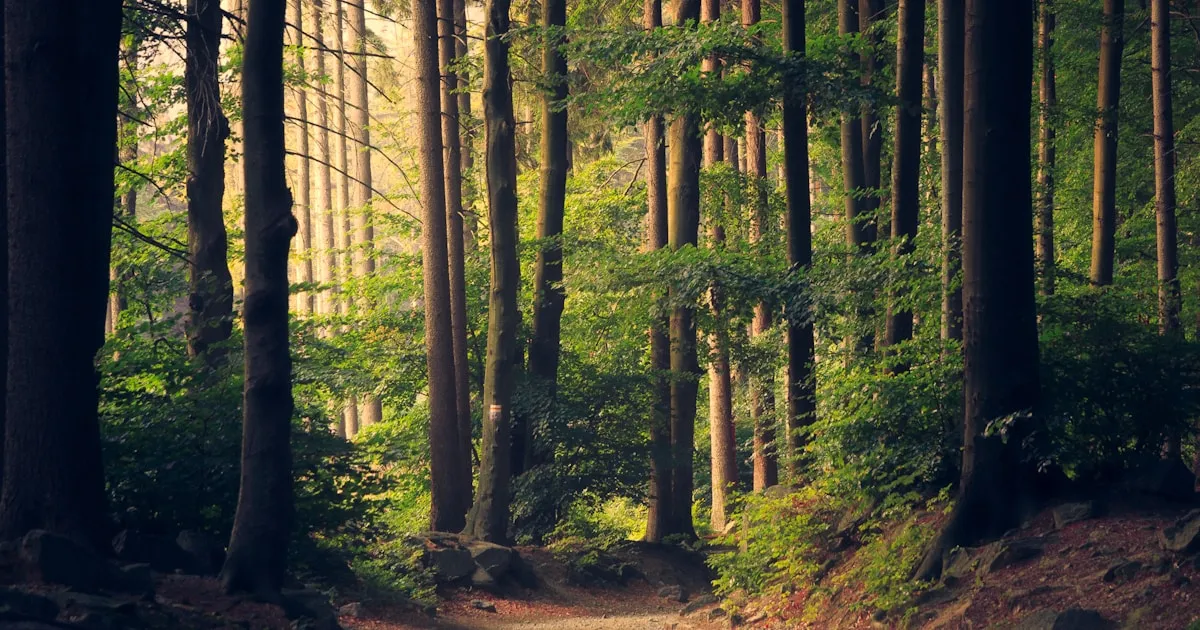
Whole Tree Shape
Sometimes the overall silhouette helps, especially for distinctive species like weeping willows or Lombardy poplars.
Step back far enough to capture the entire tree from ground to crown.
Avoid harsh backlighting. Silhouettes against bright sky lose detail.
Include surroundings for context. A tree growing in a swamp suggests different species than the same silhouette on a dry ridge.
Lighting Matters
Good Lighting
Overcast days provide ideal conditions. Soft, even light reveals detail without harsh shadows.
Open shade works well. Photograph a leaf in the shade of the tree’s canopy rather than in direct sun.
Early morning or late afternoon light is gentler than midday sun.
Problem Lighting
Harsh midday sun creates deep shadows and blown-out highlights. Leaf texture disappears.
Backlighting (sun behind the subject) creates silhouettes. The app sees a dark shape, not surface detail.
Dappled light through canopy creates confusing patterns of light and shadow on the subject.
Low light leads to blur from camera shake and loss of fine detail.
Solutions for Difficult Light
If you must photograph in harsh sun:
- Use your body to shade the subject
- Cup your hand above the leaf to create shadow
- Wait for a cloud to pass
- Move to the shaded side of the tree
For backlit subjects, move around the tree to get the sun at your back or side.
Technical Tips
Focus
Tap to focus on your phone. Touch the screen where the subject is, not the background.
Get close, but not too close. Most phone cameras struggle to focus on subjects closer than 4-6 inches. Find the distance where your camera achieves sharp focus.
Hold steady. Brace your arms against your body, hold your breath, or lean against something stable.
Framing
Fill the frame with the subject. A leaf that occupies 10% of the image provides less information than one filling 80% of the frame.
Center the subject unless you have a good reason not to.
Keep the background simple. A leaf against grass is clearer than a leaf against a busy background of other leaves.
Resolution
Shoot at full resolution. Don’t pre-crop or compress before submitting to the app.
Clean your lens. Phone lenses pick up fingerprints and pocket lint. Wipe before shooting.
Common Mistakes
Too Far Away
Photos of entire trees from 50 feet away rarely enable identification. The leaves become indistinct smudges.
Fix: Get close. Photograph individual leaves, bark sections, or flower clusters.
Blurry Images
Camera shake, poor focus, or subject movement creates blur that hides identifying details.
Fix: Stabilize yourself, tap to focus, use good lighting.
Confusing Backgrounds
A green leaf against green leaves is hard for both humans and AI to parse.
Fix: Use your hand, the ground, or sky as a contrasting background.
Wrong Part of the Tree
Photographing young leaves, atypical branches, or damaged sections provides misleading information.
Fix: Find healthy, representative samples. Use mature leaves rather than new growth.
Missing Scale
Without reference, the app can’t tell if a leaf is 2 inches or 2 feet long. Size is diagnostic for many species.
Fix: Include your hand, a coin, or something of known size.
Single Photo Only
One photo might catch an atypical feature or an unlucky angle.
Fix: Take multiple photos of different features. Leaves, bark, overall shape. Different angles.
Photographing Specific Features
Needle Arrangements (Conifers)
For pines, show how many needles are bundled together. Include the sheath at the base.
For spruces and firs, capture individual needle attachment to the twig.
Compound Leaves
Show the entire compound leaf from the central stem (rachis) to all leaflets. This is critical—a single leaflet photographed alone looks like a simple leaf.
Flowers
Get low and close. Show flower structure from the front. Include multiple flowers if they’re clustered.
Fruit and Cones
Photograph intact fruit/cones still on the tree when possible. Fallen specimens may be old or from other species.
Bark With Distinctive Features
If bark has interesting features—resin blisters, horizontal lines (lenticels), or specific peeling patterns—make sure these show in the photo.
Using Tree Identifier Effectively
The Tree Identifier app works best when you:
- Submit clear, well-lit photos of diagnostic features
- Include multiple photos if you’re unsure—leaves, bark, fruit
- Focus on healthy, typical specimens rather than damaged or juvenile parts
- Review the results to learn what features the app is using
When results seem uncertain, try photographing a different feature. If a leaf photo gives 75% confidence, adding bark might push that higher.
Building Your Skills
Practice photographing trees you already know. This teaches you what features matter and how to capture them. Starting with well-known species like oaks or maples is a great way to build intuition quickly.
Compare your photos to field guide images. Notice which angles and details the guides emphasize.
Review your identification results. When the app is uncertain, look at what you photographed and consider what additional detail might help.
Over time, you’ll develop intuition for what makes a good identification photo. You’ll automatically shoot leaves against your palm for contrast, check focus before moving on, and capture multiple features as habit.
The camera in your pocket is a powerful identification tool. Learning to use it well multiplies what you can learn from every walk in the woods.
Rachel Nguyen
Tree Identifier Team